Opening hours
Monday-Friday 7am-7pm
Warmup for runners – 8 dynamic stretches

By Physiotherapist, Paulina Backiel
Why do we warm-up?
Remember when you wake up in the morning, getting out of bed is always so hard because your body feels stiff. So you raise your arms to the sky for a stretch, and you immediately feel like your body can move more.
Running is a very large movement for our bodies and requires many muscles to stimulate and work with each other. Warm-ups are exercises created to wake up the muscles you are trying to target, initiating stimulation by movement. This will increase blood flow and oxygen to the muscle allowing it to “wake up.”
What kind of warm-up do we do? What kinds of stretches are good?
You will often hear “dynamic stretches” for warm-ups. This means that you do not hold them for a long time like “static stretches.” In a dynamic stretch, as mentioned above, you just want to stimulate the muscle, not lengthen the muscle like you would for a static stretch. Below are examples of a dynamic vs. static stretch:
Dynamic = For example, when you do a quad stretch pulse, you do not hold it in a stretched position but move your foot towards and away from your bum.
Static = For example, when you do a regular quad stretch you try to bring your foot as close as you can to your bum and hold it there.
Here are 8 dynamic stretches for warm-up:
Lateral leg swings
Front and back leg swings
High knees with calf raise
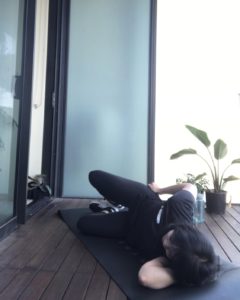
Quad stretch pulse
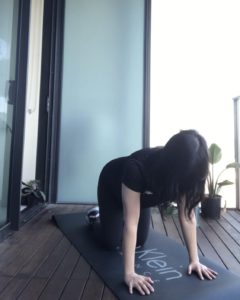
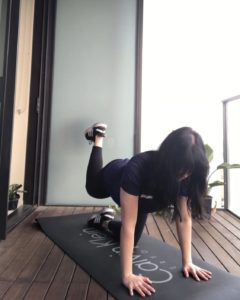
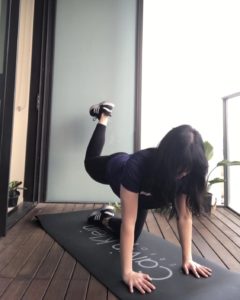
Glute stretch pulse
Pulse lunge
Pulse squat
Hamstring and calf stretch – toe swipes
Watch the video below for a demonstration!
Happy running!!
Your Running Physio,
Paulina